We have seen customers who switched from halogen lamps to LED replacement bulbs that resembled halogen bulbs have reported compatibility issues with their halogen transformers. Unfortunately, even though these LED bulbs look similar to their halogen counterparts, they often require a dedicated LED solution to function optimally. We have even had customers that used our module kitset as it is brighter than most LED replacement MR16 lamps. While the LED MR16 replacement lamps look great on paper they simply cant match the brightness and longevity of a dedicated LED solution.
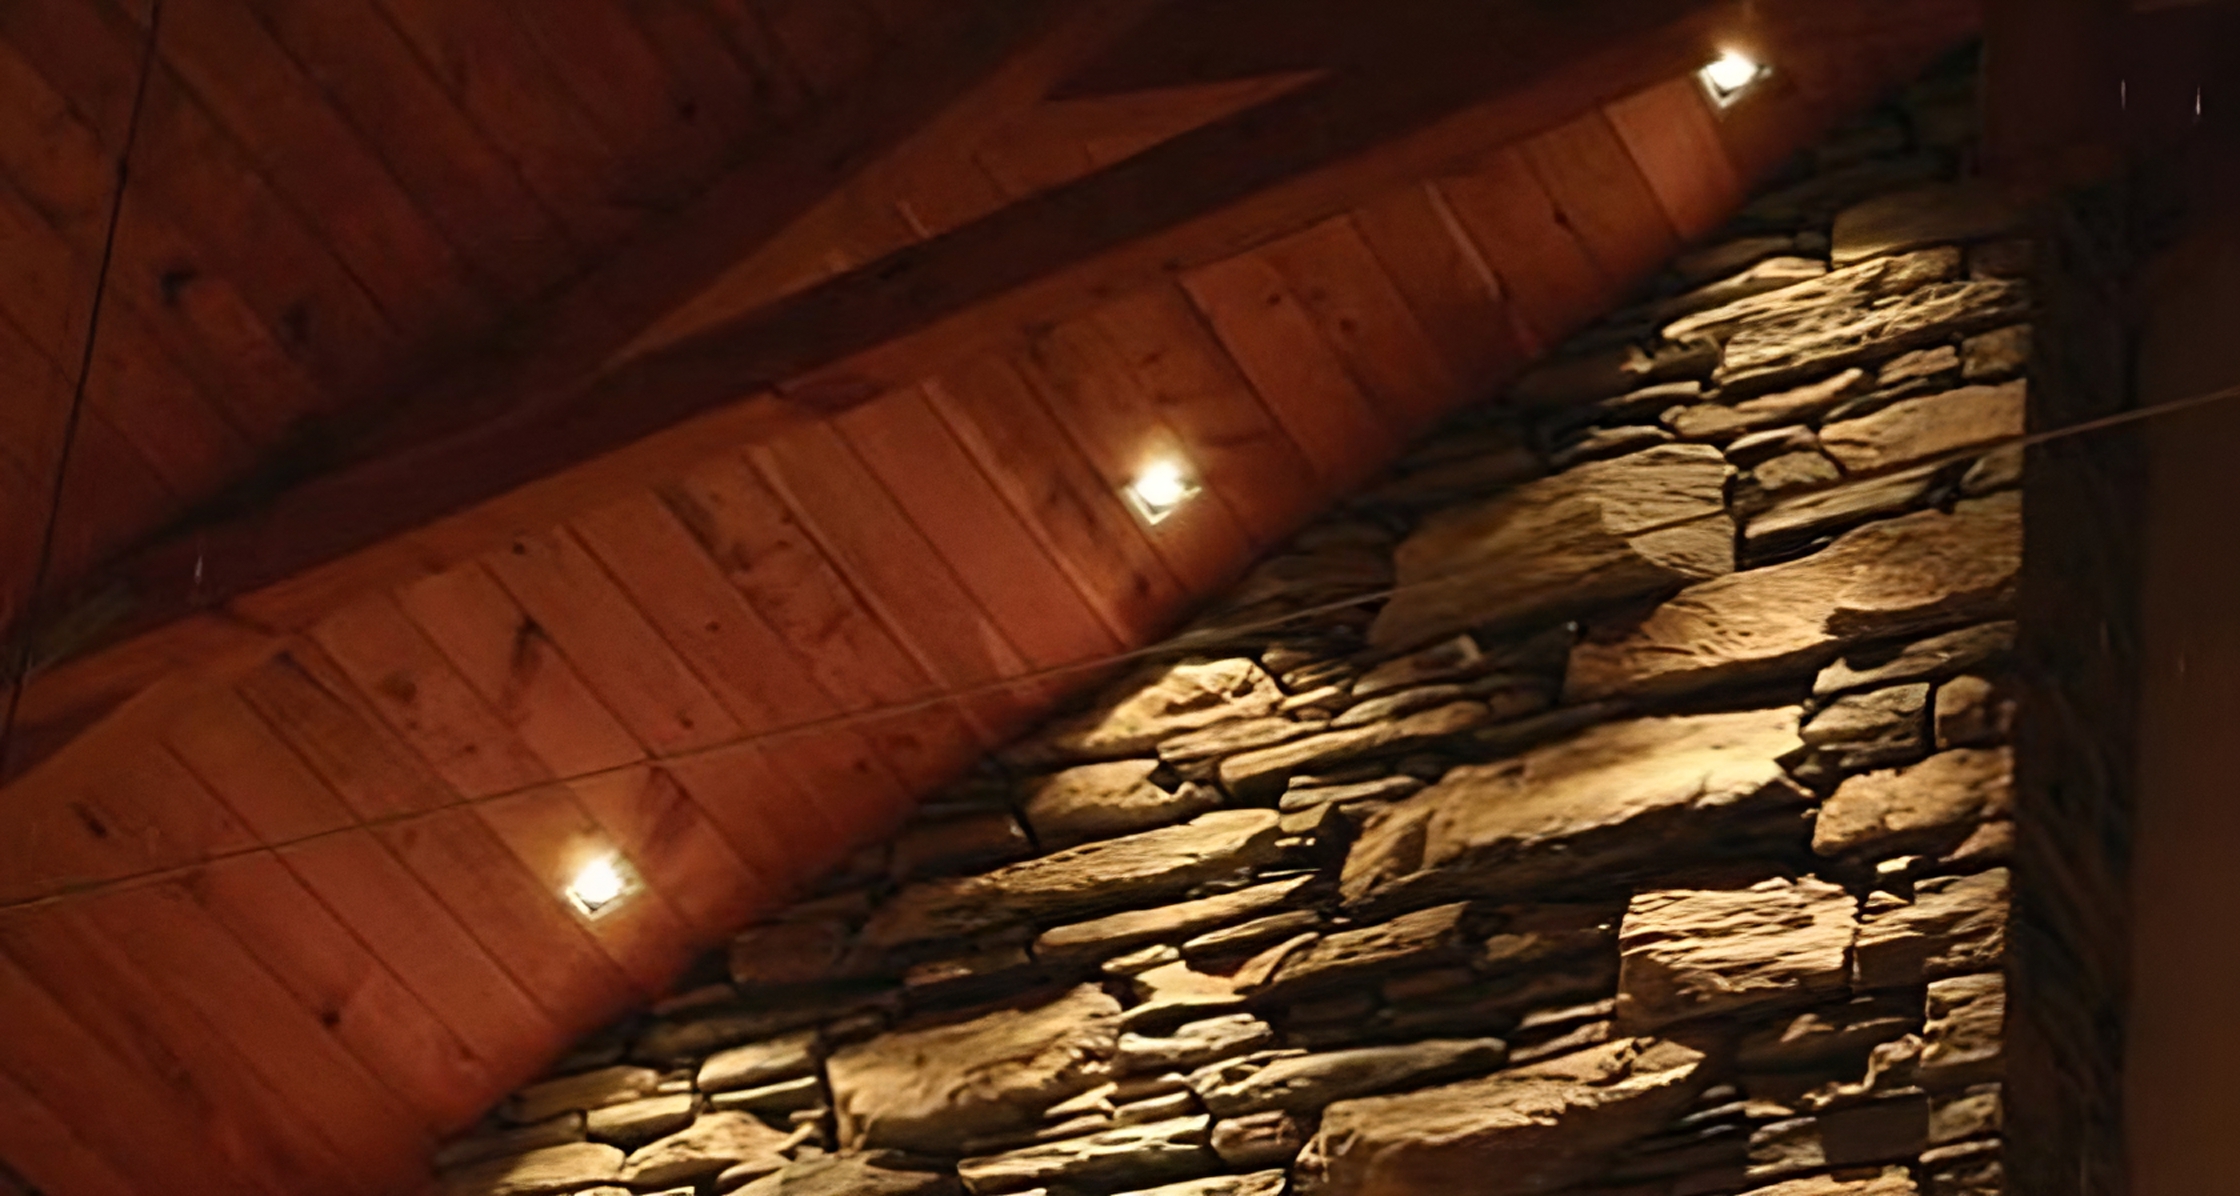
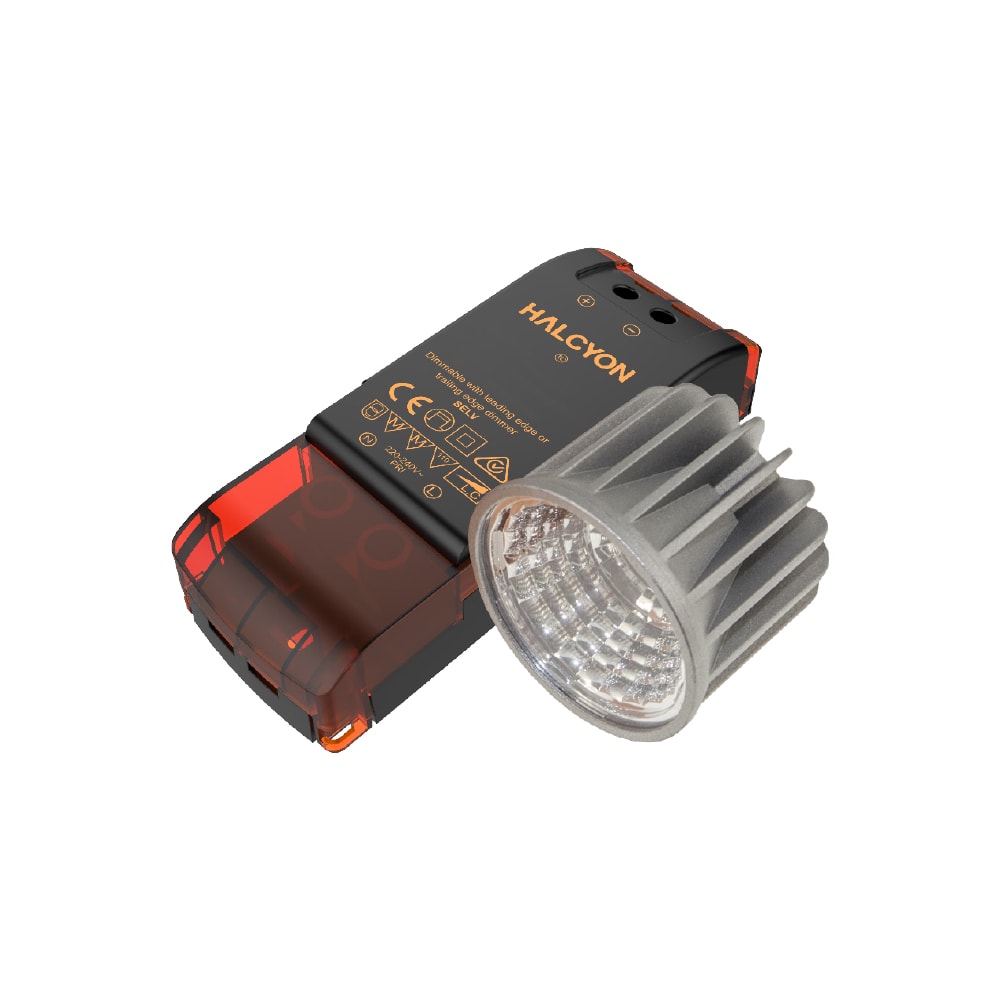
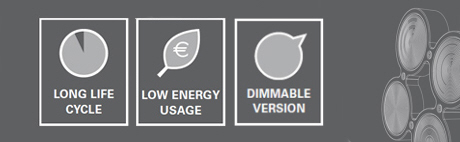
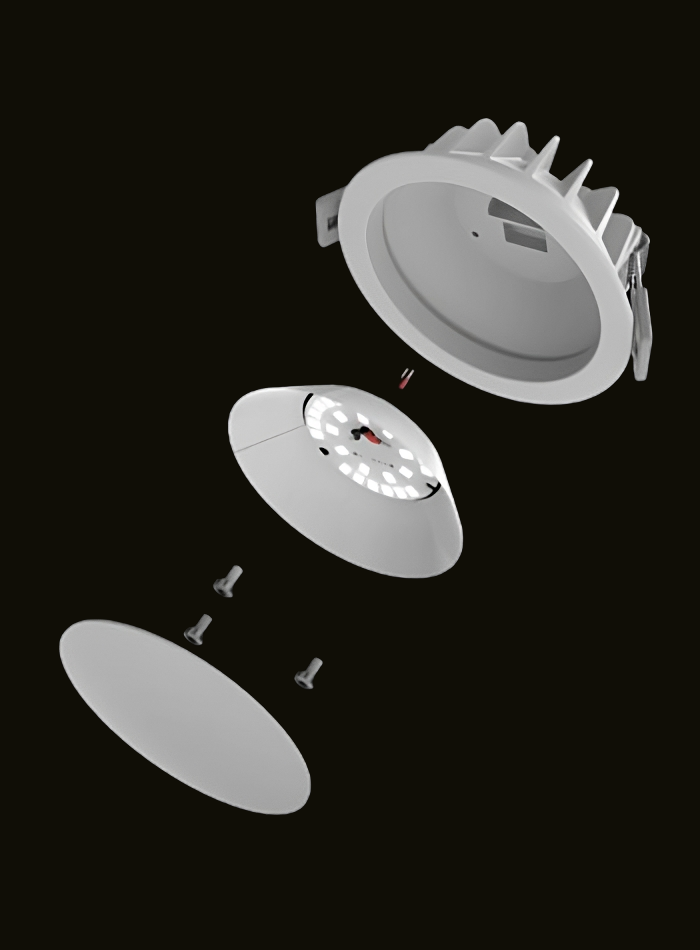
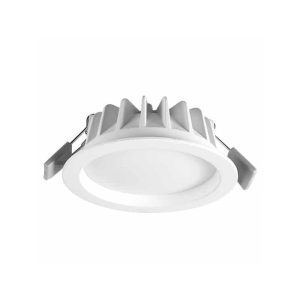
These kits ultilise the latest Chip on Board (COB) technology and look just like traditional halogen lamps once installed.
Our main module kit is 10W of total load (including the driver) and outputs 700 lumens of light in 3000k warm white or 4000k cool white. The driver is not only dimmable but also designed to work under the insulation, so if you have access into the ceiling you can now cover your lights with insulation once these kits are installed into your existing downlights. No more lost heat through the holes in your ceiling insulation.
Module LED Upgrade Kitset
By switching to these kitsets you will save a whopping $11.65 per year per fitting compared to a 50W halogen lamp, that’s enough to buy yourself a celebratory pizza! This is just the power to run them, you will save even more in lamp replacement and heating.
Click on the image or this text to look at the full specs and start shopping now
Just remember, these fittings require 240V wiring, and we recommend an electrician to carry out the install.
So what are you waiting for? Make the switch to LED lighting today and enjoy the benefits to your home or office for years to come. And if you have any questions or concerns, don’t hesitate to reach out to us. Our team of experts is always here to help you make the best decision for your lighting needs.
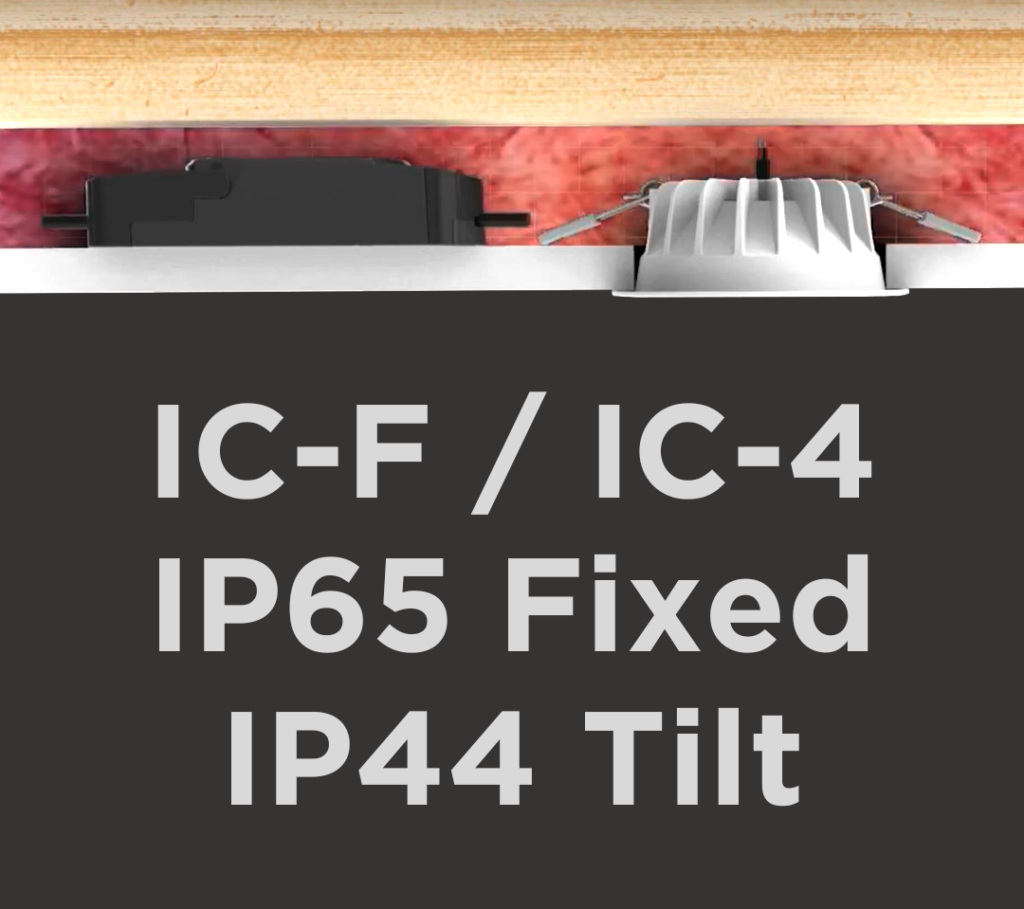
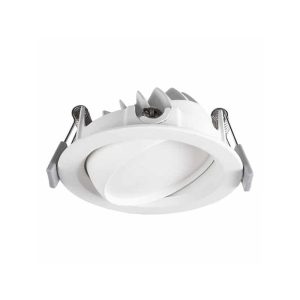
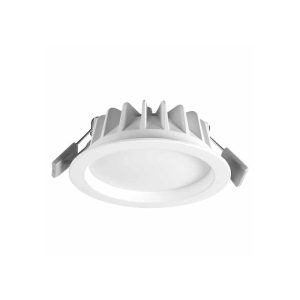
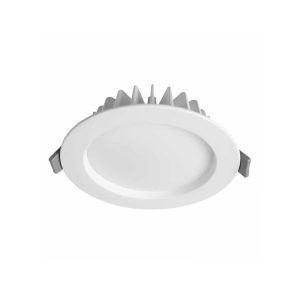
The current standard (AS/NZS 60598.2.2) takes both the downlight and the insulation into account and gives 5 classifications that must be printed on downlights. These are IC, IC-F, CA80, CA135 and Non-IC.
Since the standard was introduced the market has changed a lot, and customers have embraced the need to have good coverage of insulation across their home, to do this you will need IC and IC-F downlights across your whole home.
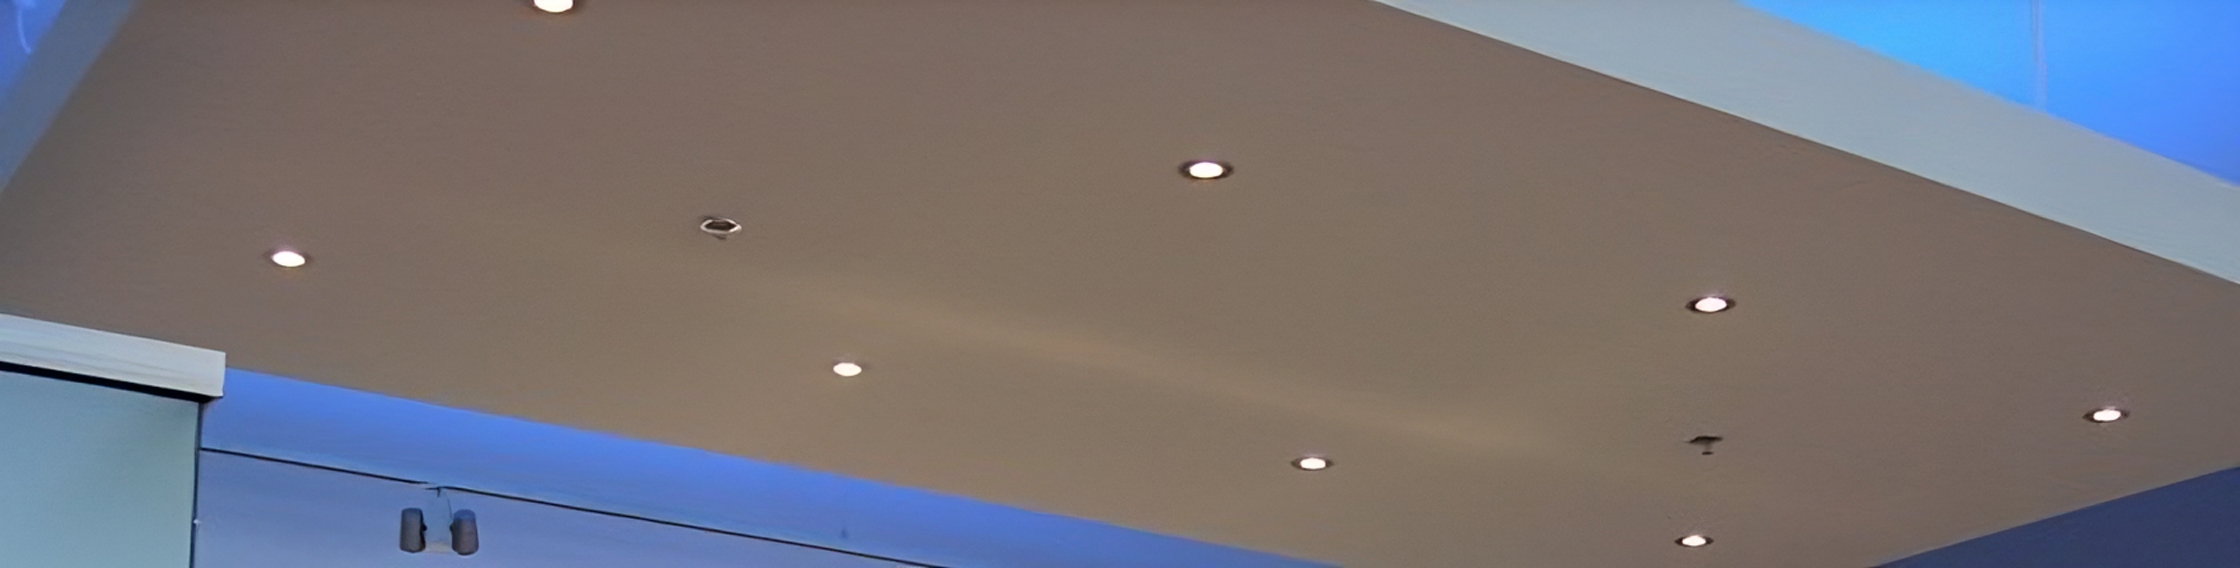
Coverable Downlights
Recessed Luminaires that have the IC-F rating can have insulation abutted to and/or covering them. These downlights are also sealed so insulation cannot get into the fitting.
Recessed Luminaires that have the IC rating can have insulation up to the sides and covering them. Many Downlights comply with this classification and it is a good standard to use for your build.
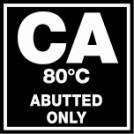
Non-Coverable Downlights
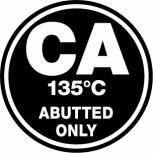
Fittings with a CA80 or CA135 rating may have insulation abutted to the sides of the fixture, but may not have insulation covering the downlight. It has become uncommon to use CA80 or CA135 downlights as they can allow heat to escape through gaps left in the insulation above them.
Commercial Use Only Dowlights
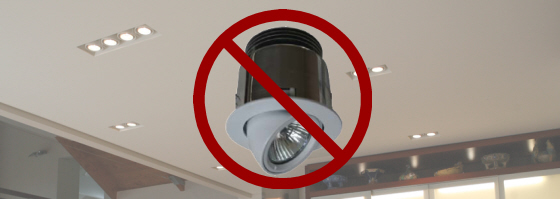
Downlights that have the Non-IC rating cannot be installed near insulation so they cannot be used in residential applications. Any luminaire that is unmarked is also considered to be Non-IC.
It is important to note that some Drivers and Transformers must be mounted on top of the insulation. If you are intending to cover the drivers that come with your downlights then you can always ask for installation instructions on these downlights, this may save a lot of headaches.
Downlight manufacturers are now requiring that the insulation that can abut to or cover their lights comply to a zero ignitability standard. Before using recessed lights please ensure your builder and/or insulater are aware that this is a requirement.
Ready to Shop?
Now you have all the right information, you might want to look at some of our ranges – you can see all of our recessed downlights here. You might even want to take the time to browse through our range of Designer downlights that include modern designer finishes, slim trimlines and high end specifications.
If you need our help selecting the right downlight we have a great display of our products with working samples so you can see the differences in our showroom, feel free to give us a call or come in to see the ranges. Contact The Lighting Centre.
Commercial LED Downlights
Residential LED Downlights
Frequently Asked Questions
Q. Is an IC-F Rated fitting also Fire-Rated?
A. No, IC-F is not to be confused with a Fire-Rating, this also fits into a different standard. We do have fire-rated downlights on our website here Fire Rated Downlights
Q. Can I mount a coverable (IC or IC-F) Downlight directly up to timber?
A. It is a common misconception that IC and IC-F ratings mean that a downlight can abut timber. Whilst many can, some still have minimum clearances to timber or other building elements. Check the each products specifications for details of the clearance you need between a fixture and combustible elements.
Q. If I select an IC or IC-F downlight can I install the driver under the insulation?
A. Many Drivers are now able to be installed under the insulation, but this is specific to the product and nothing to do with the rating on the fitting. Its always important to double-check this before selecting your downlights.
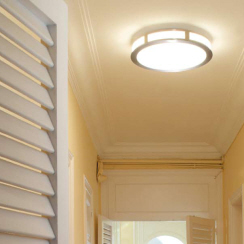
The Ledeshi Circle Step is a very smart, high powered slim surface mount ceiling light. The fixture emits a smooth even light that make the Circle Step ideal for room and task lighting. Dimmable versions are available.
With three sizes available, use the size and shape most suitable for your situation. Circle Step is perfect for residential and commercial applications.
The Circle Step has an integrated driver so require no additional transformer.
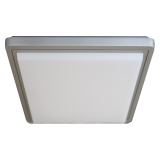
The Ledeshi Ligne Step was added to the range in 2013, bringing a modern square look to compliment the Circle Step. Click the picture to see the sizing options.
As with many LED fixtures the Circle Step and the Ligne Step are available in Cool White for whiter light (better for working environments) or Warm White (better for relaxing environments).
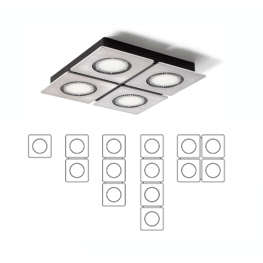
A very cool part of the Ledeshi family is the Cubo surface mounted downlights. Ledeshi have used LED puck lamps which are very slimline 4W LED lamps and combined them with stylish brushed metal housings to make this smart, minimalist surface mount cabinet, cupboard and ceiling mount lights .
The Cubo range is available in 1, 2, 3 and 4 light models and the 4 light models are available long and square to provide a lighting solution for every situation.
Click on the photo to head along to our online store where you can see all of these options.
Like many of our ranges this smattering of product is simply the imported part overall lighting range. if you want to see more from Ledeshi in surface mounted LED and also some of their very interesting recessed LED please get in touch with us and we can talk you through the range.
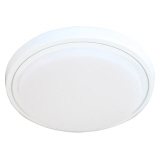
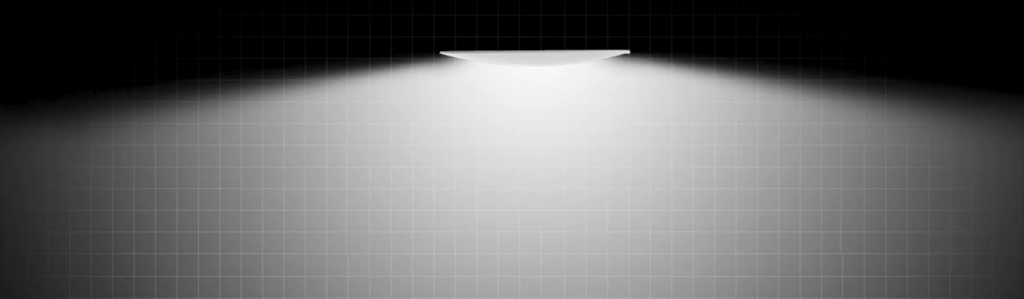
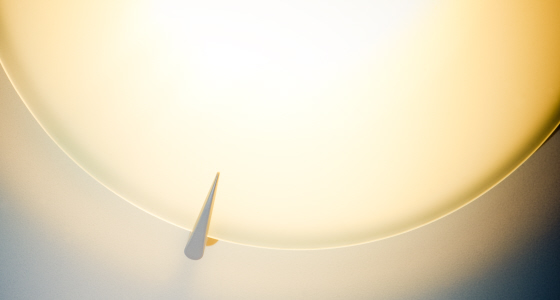
Wide beam style downlights, such as the SLED Dome, provide a soft, uniform glow with a non-defined beam pattern. What sets the SLED Dome range apart is its convex diffuser, which delivers an even diffuse light appearance compared to similar wide-angle opal diffuser downlights. This means you can enjoy a beautifully balanced illumination that adds a touch of elegance to your space.
Switch Lighting understands the importance of both quality and options when it comes to downlights. With their commitment to superior design and construction, you can trust that the SLED Dome range offers exceptional performance and durability. Backed by a 5-year warranty, a 60,000 Hour L70 lifetime, and zero-millimetre clearance to building elements, these downlights are built to last.
Not only do the SLED Dome downlights excel in functionality, but they also bring aesthetic appeal to the table. With sleek finishes available in Textured White and Textured Black, these downlights with a variety of styles, while still looking modern and sophisticated.
Each downlight within the SLED Dome range features a switch on the back, allowing you to choose between 2700K, 3000K, and 4000K. Let’s explore the benefits of each:
2700K: This warm colour temperature is perfect for spaces where rest and relaxation are paramount, such as bedrooms and living areas. With its ability to minimize blue light exposure, 2700K creates a more relaxing environment, promoting a better night’s sleep.
3000K: With a warm, crisp tone, this colour temperature strikes a balance between functionality and ambiance. It works exceptionally well in working spaces like bathrooms, and it also adds a touch of vibrancy to living areas where a little more crispness in the light is desired.
4000K: If you’re looking for a cool, bright white light, 4000K is your go-to option. It’s ideal for working spaces like offices, laundry rooms, and garages. Additionally, if you appreciate its tone, you can incorporate it into bathrooms and even the kitchen.
The versatility of the SLED Dome range allows you to use the same light fittings throughout your home, ensuring a clean, cohesive finish while providing the right atmosphere and lighting for each space.
To make the most of this range, here are a few tips:
While wide-angle downlights excel at spreading light evenly, they might not be the best choice for task lighting. Consider incorporating medium-angle downlights, spotlights, or pendants in areas where precise task lighting is required, such as kitchens. Floor lamps and desk lamps also work wonders as additional task lights in studies, bedrooms, and living spaces.
In smaller areas, opting for low-power variants can be more beneficial. Rather than relying on a single powerful fixture, using two fixtures at a lower intensity can provide better overall lighting. Additionally, certain rooms like toilets or hallways don’t require an output of 800+ lumens. Think of it as using a smaller wattage lamp in the fixture for a more suitable lighting solution.
Some models of the SLED Dome range are available in Sunset dimming. These downlights smoothly transition from 3000K down to 2000K as they are dimmed, creating a warm, ambient light. Utilize these models in bedrooms and living spaces where dimming and a cosy colour temperature can truly set the mood.
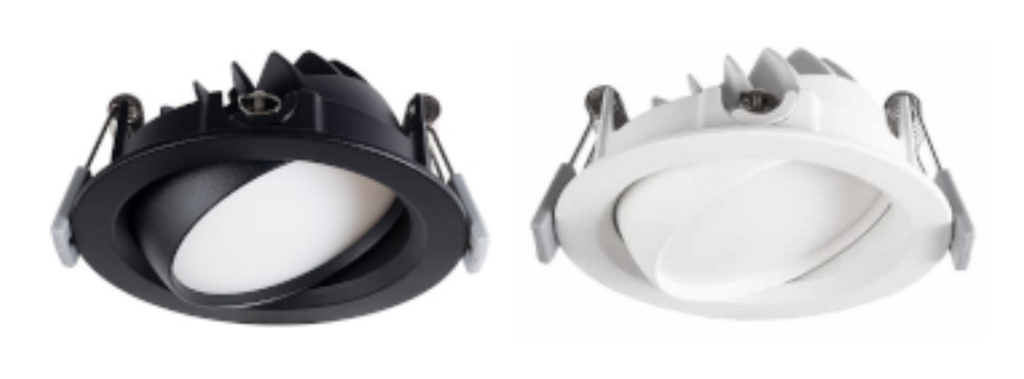
The SLED Dome Tilt is an excellent choice for angled ceilings, but it can also be used to direct light where you need it in walk-in wardrobe spaces.
Experience the difference that a versatile and functional collection of wide beam downlights can make. Let the SLED Dome range from Switch Lighting illuminate your world with style and efficiency. With Switch Lighting’s proven track record of quality and a standard 5-year warranty, you can have peace of mind knowing that you’ve made a reliable and long-lasting investment.
If you need any assistance with your lighting plan or want to see examples of these lights, don’t hesitate to reach out to us or visit our shop. We’re here to help you bring your vision to life.
Recessed lighting is becoming less and less popular for designers, the minimalist clean lines are being replaced by attractive decorative lighting and better switching options that allow you to better control your energy efficiency and increase the drama of your lighting scheme. Recessed lighting is often harder to install, fittings need to have specific ratings to work with insulation and of course you need to cut some form of hole in the insulation which will allow the heat to escape.
For example lets take a 4m x 4m bedroom and light it with halogen downlights. The downlights are likely to set you back $30-$50 depending on the model, note that this includes energy efficient halogen lamps (35W is as bright as a 50W lamp). Install is likely to cost $50 per light or $200 total, so you are looking at best case scenario to light the room with round white downlights costing you $320, with an ongoing power consumption of 140W (which will be around 10c per day if you run them 3 hours per day).
If we choose to light the same space with a modern ceiling button with 32W circular fluorescent lamp the output will be roughly similar, while the ceiling button will have less downlight, it will light the ceiling and walls better making the whole room feel brighter and livelier. Cost for a good quality fitting will be around $150 with install being around $50 for a total install cost of $200. Ongoing power consumption will be 32W (which will be around 2.5c per day if you run the light 3 hours per day).
We have cut no holes in the insulation and still provided adequate light and increased the visual appeal of the lighting of the space as well as saving money on install and in the long run with a more energy efficient lighting options. Not only that but as the push away from recessing lights continues this option will become more and more required on the sale of the property.
Bearing in mind this is a very basic lighting layout you will still need to add task lights and possibly even more ambient lights to set a particular mood for the space. But giving each room a strong solid base of light that saves you money is a very good start.
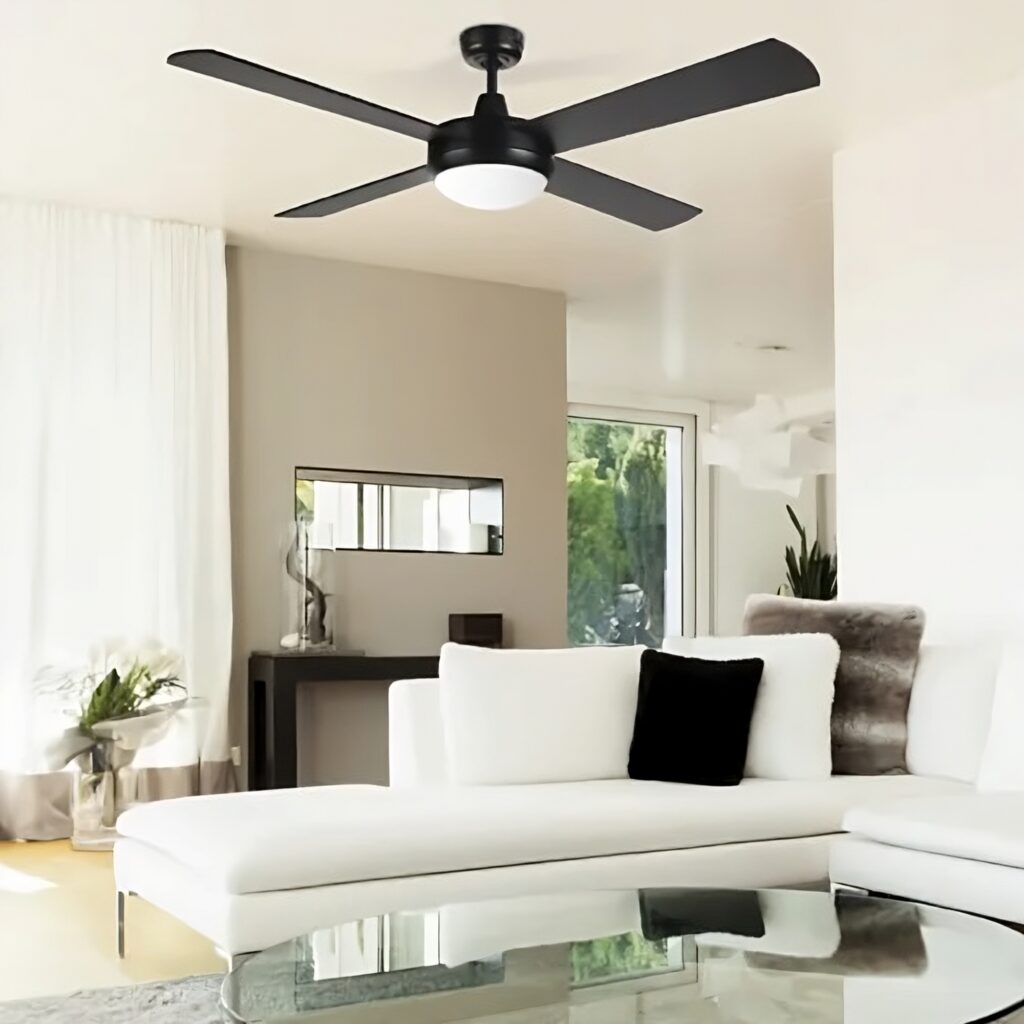
AC is the older technology used in Fan Motors, the motors usually come with a 3 or 5 speed wall controller and optional remote control. AC fans do have a reverse function but that is normally a switch on the body that you need to physically flick to swap the fan between summer and winter modes.
DC fan motors are the more modern technology, DC motors are quieter (virtually silent) and consume less power to run (usually around 60% of the power of an AC motor). DC fans typically come with a 5 or 6 speed remote control that includes the reverse function on the remote.
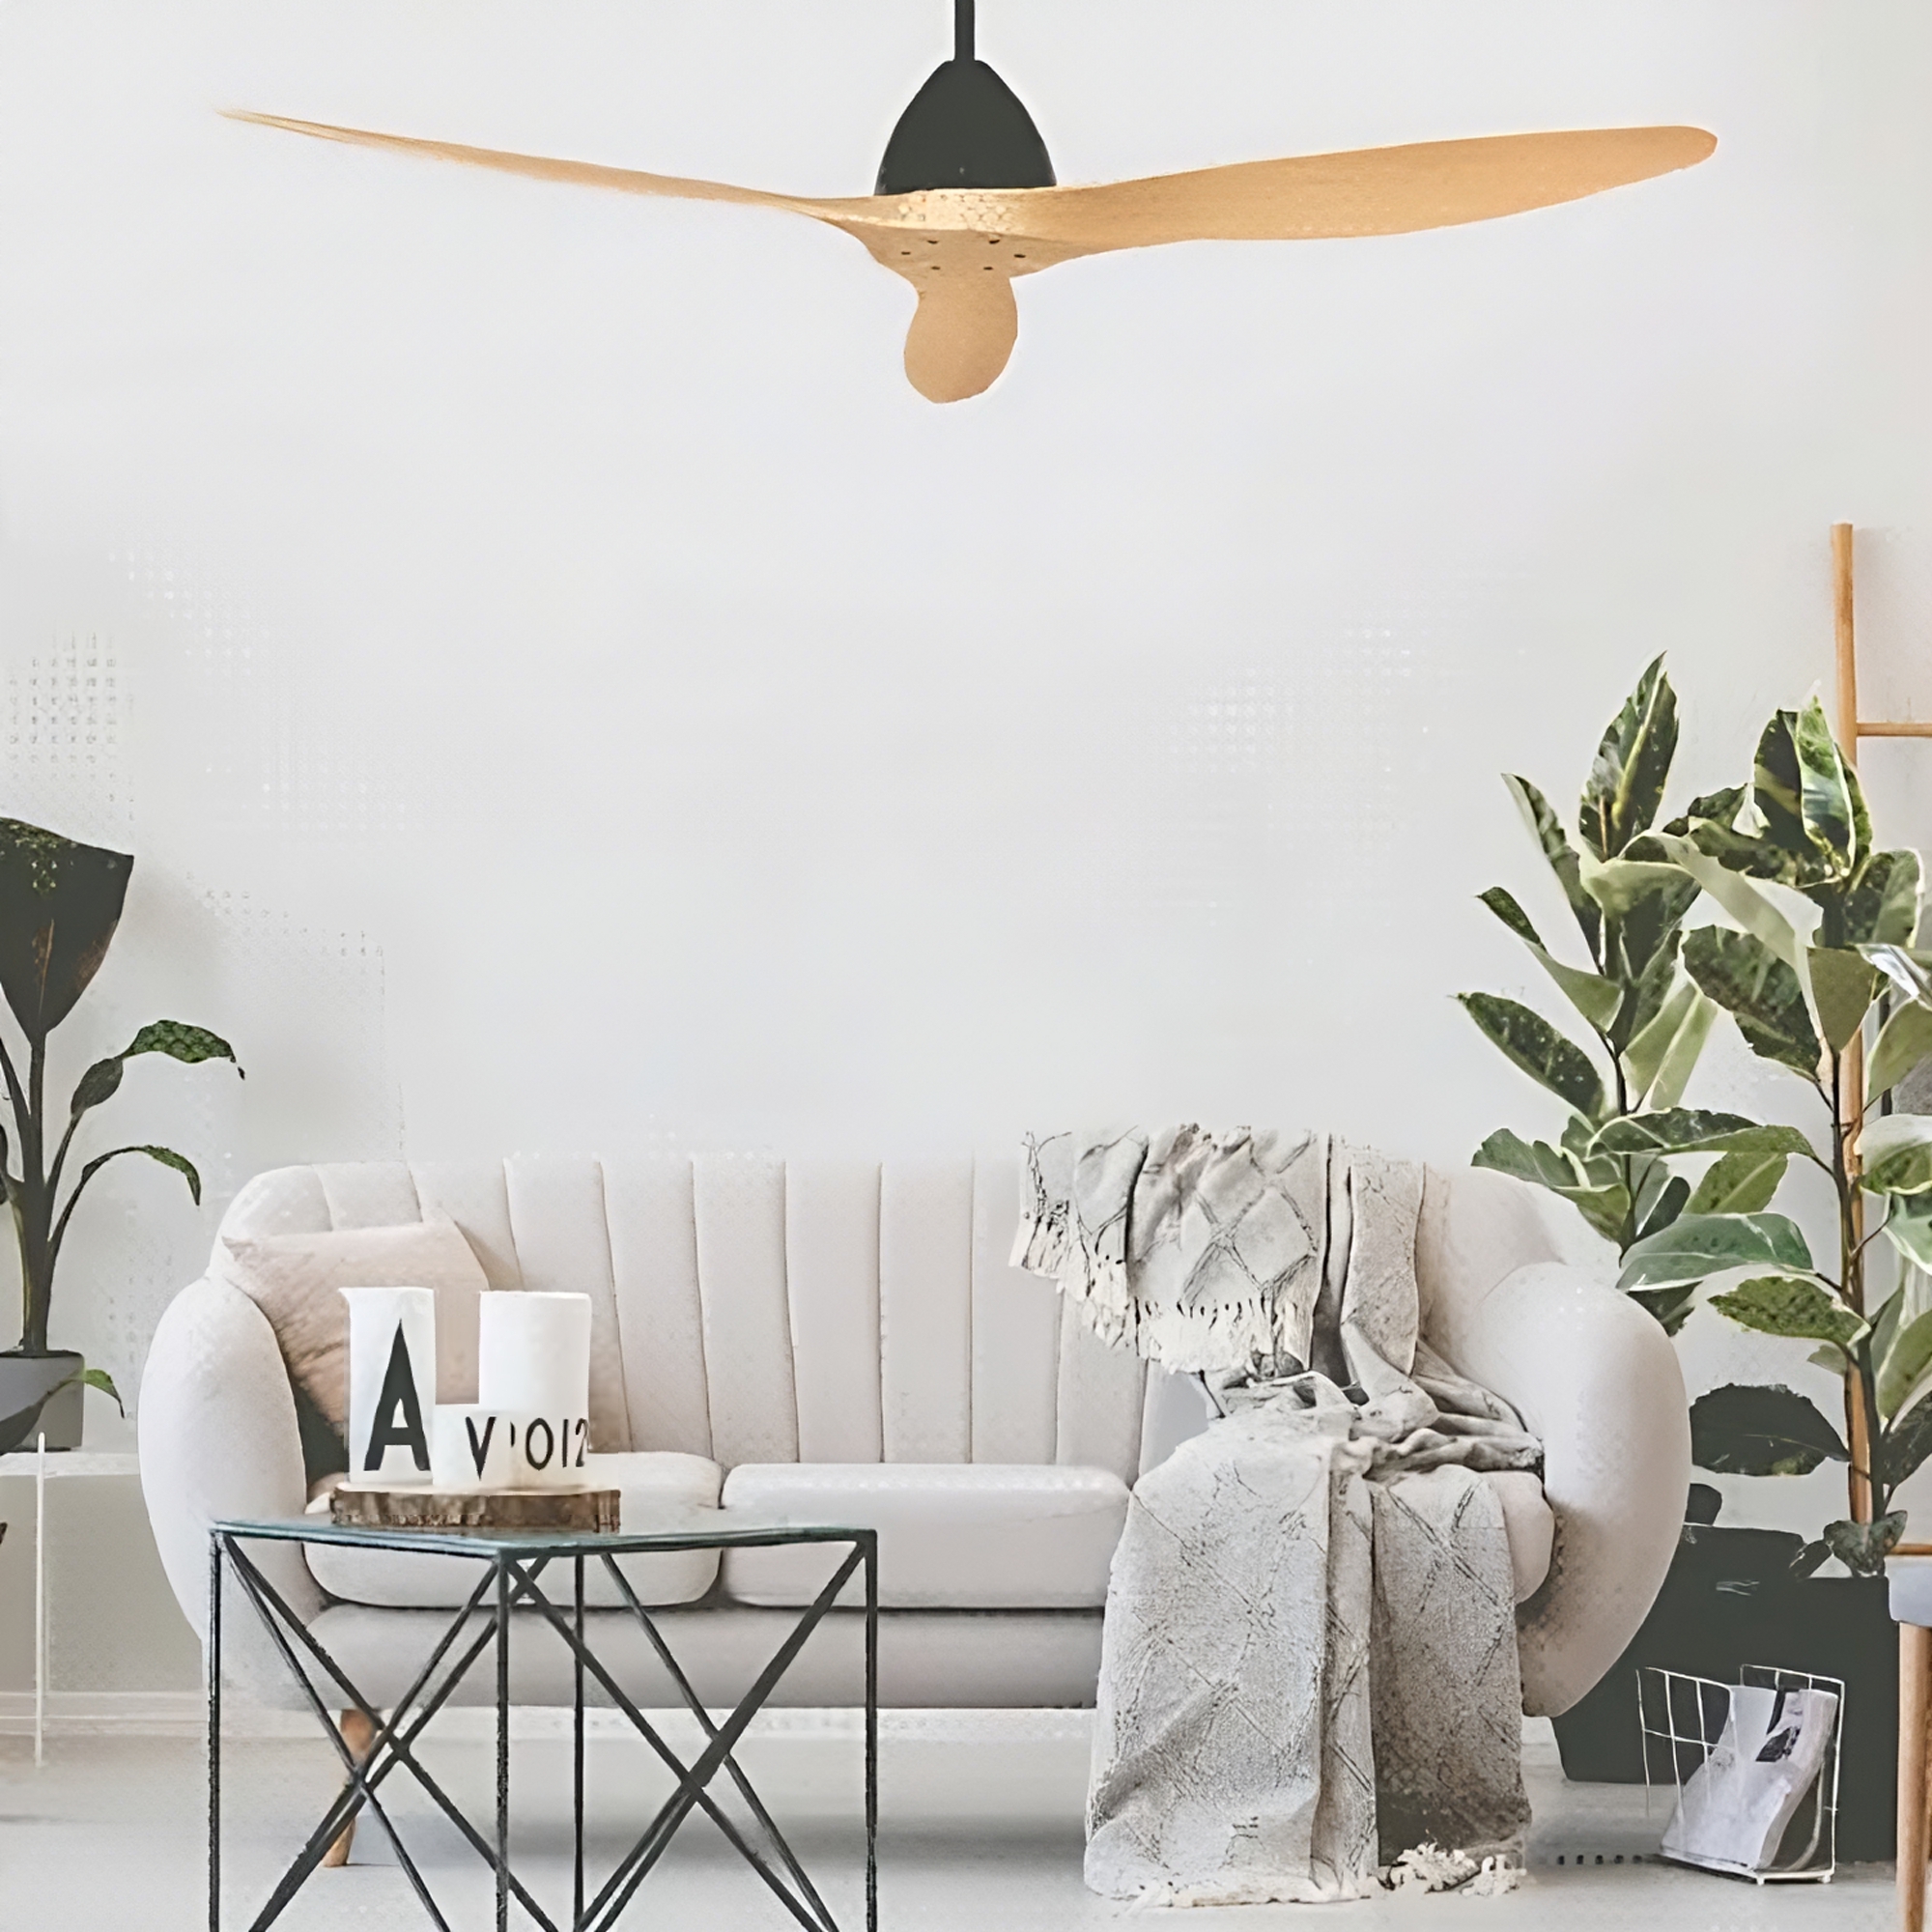
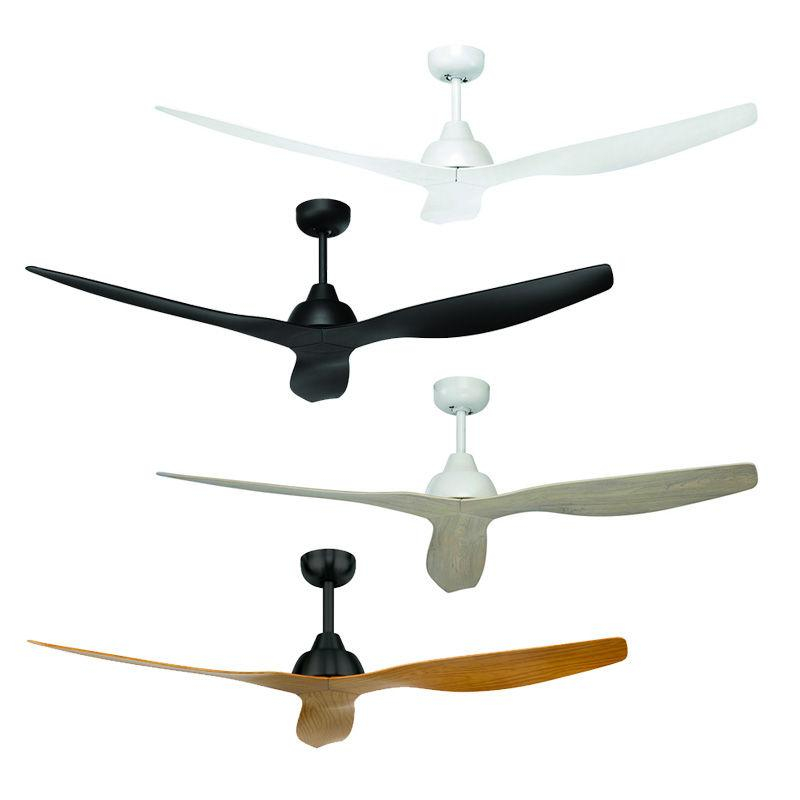
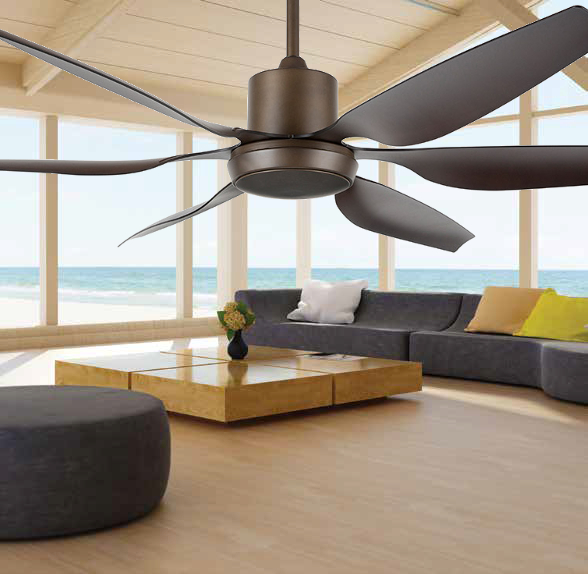
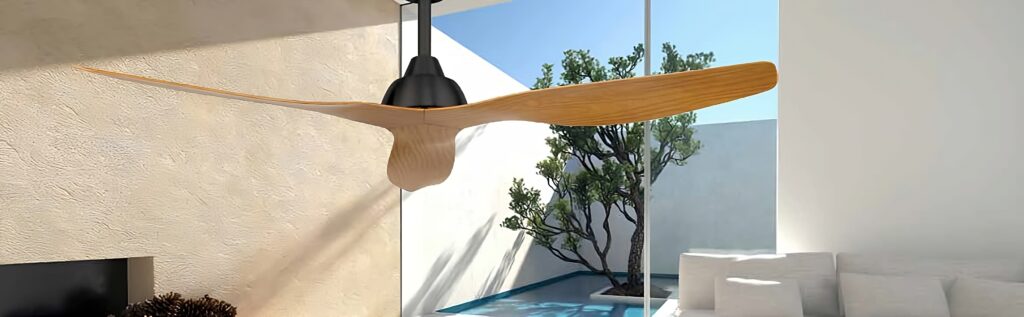
Types of Fan Blades
In the past their were two main types of fan blade, wood or metal. Wood fan blades are quieter and recommended for bedrooms, while metal blades can be formed to push more air and though they are noisier can be used in living spaces and commercial spaces. Often wider span fans will have metal blades.
Recently some manufacturers have started to use ABS plastic blades, this brings the best of both worlds to standard sized fans, they are moulded to shape to more efficiently move air, yet still very quieter than wood blades.
The upshot of this? in the home you should look to ABS or wood bladed fans in areas where noise is an issue (bedrooms), steel bladed fans should only be used in noisy parts of the home and when the fan suits your decor.
Sizing and Mounting your Fan
Sizing a fan is a very important consideration for customers, but placement and airflow are often overlooked. There is no strict best size of ceiling fan for a room but we do have some handy tips to help you find the right size of fan and place it correctly.
This chart gives some approximate fan diameters to get you started, but always remember an oversized fan will cool even more of the room and be visually striking, the only rule we follow at all times is to keep any fan at least 750mm-1000mm away from the walls of the room.
Room Size (Square meters)
Room Type
Fan Diameter
Up to 16m2
Kitchens, Dining Rooms, Dens, Patios
Up to 48” Fans (1220mm)
12m2 – 30m2
Master Bedrooms, Family Rooms, TV Rooms, Small Garages, Gazebos
48 – 56” Fans (1220mm – 1420mm)
28m2 – 40m2
Open Floor Plans, Large Family Rooms
56 – 66” Fans (1420mm – 1680mm)
40m2+
Great Rooms, Large Garages, Basements, and Open Floor Plans
66”+ Fans (1680mm+)
Room size is the width multiplied by the length
Living Rooms, Family Rooms and Master bedrooms need a 1320mm or larger fan to generate enough airflow
For long rooms, multiple fans is the best way to go
Some fans are available for exterior use, ensure that the fan is located 1.5m from the edge of the roof so it is not exposed to direct rain
Who does my Ceiling Fan cool the most?
The main cooling effect of a fan is directly below it, there is a sharp drop off in cooling effect from about 750mm from the side of the fan. If you have a wide area of seating in a room consider using an oversized fan to properly cool the areas of highest use in the room.
Often the seating area will be off to the side of the centre of the room, in this case, you should use as large a fan as you can handle or offset the fan above the seating area to maximise the cooling. From a design perspective offsetting the fan can also help create zones in a large open plan space.
Smaller fans are most helpful if they are correctly placed, so in a large bedroom, you could opt for a 52” fan that is placed directly over the bed.
Fan Diameter and Airflow
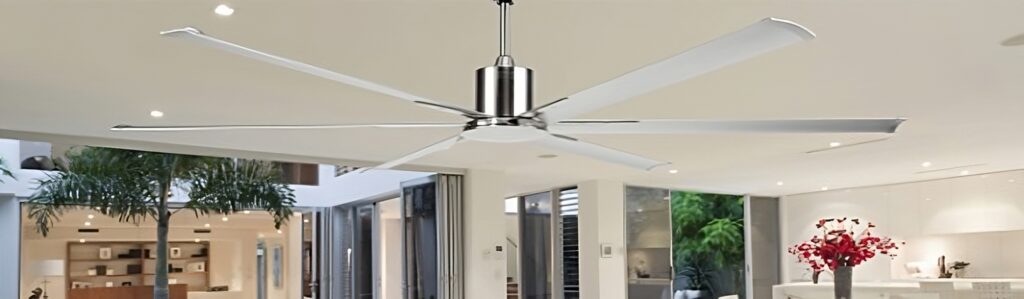
Different fans move at different speeds, many larger fans are what we call High Volume Low Speed (HVLS) fans and are designed to run at a low speed (RPM) yet still push a large volume of air. This will mean at low speeds the cooling effect or airflow is lower but if these larger fans (usually 66” – 1680mm diameter or larger) were to run at a higher RPM it would be overwhelming.
The upshot is that the fan has a slower swooping motion, which is similar to what you would expect from fans in industrial or commercial spaces.
Ceiling Height Is Important
The ceiling height doesn’t impact airflow too much just the type of fan you can select as, for safety, a fan should never hang below 2100mm from the floor. This prohibits a lot of fans being used on a 2.4m high ceiling. Once your ceiling gets above 2.7m high you should also use a downrod with the fan to bring the fan down to 2100-2300mm from the floor to maximise the cooling effect.
One last note on angled ceilings
Most fans have a ball-joint built into the base so that they can work on an angled ceiling, but the degree of pitch varies drastically from model to model. Once you have narrowed your fan selection make sure the fans will work with the angle of pitch of your ceiling or else you will need to get a block made to compensate.
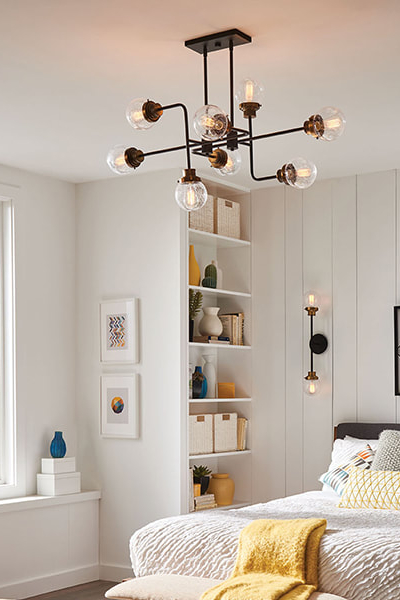
In the centre of a living space you don’t want fittings to hang lower than 2.1m above the floor. This rule can be broken if a feature piece is close to a wall or a reading light beside a bed and in no danger of having someone walk underneath it.
Some ceilings are simply to low for a pendant, especially if it is a bigger space, if you have a 2.4m or 2.5m high ceiling its worth checking out our range of Semi-flush pendant lights, which are designed to bring a decorative element to lower stud heights.
In a large entry foyer with a high roof you want to hang the pendant so the bottom is 150mm higher than your front door for it to get the right presence in the space. Pendants add a sculptural element over stairs in a foyer space and are lovely when viewed from outside if you have large windows, but if they are above the stairs you need to make sure the bottom of the fixture isn’t going to hang too low. Hanging these lights 2.4 – 2.6m above the stairs that they hang over will make sure they don’t feel like they are in your space as you walk down the stairs.
How to size a pendant for a dining table
If I have the chance I will always hang a pendant or chandelier over a dining room table, having ambient light in a dining space is warmer, more relaxing and creates a softness that you just cant get from recessed lighting. To get a pendant or chandelier that is the right proportion for your dining table the diameter of the fitting should be 2/3 to 3/4 the width of table itself.
To bring in extra light for a longer dining table you can hang two pendants or a long linear style pendant. If you are going for two pendants over your table they should be around 1/3rd the table length in diameter and placed so that the outside of the pendant doesn’t come with 150mm of the end of the table. It is a modern look to hang a linear style fitting over rectangular dining tables, for the best look make sure the fitting is 300mm-500mm shorter than the table.
Unless you have nearby windows with a view you should always take the opportunity to hang your dining pendant lower over the table, Pendants should hang 750 – 900mm from the top of the table to the bottom of the fixture. This provides more ambient light for the dining space and a more striking view of the fixture itself.
How to size pendants for a kitchen island
One of the most popular places to hang a pendant in any home is over the kitchen island, they provide a decorative element to a large flat space and, if you find the right fixture, excellent task lighting.
The rule for multiple pendants has been to hang them in odd numbered sets to create a balance, usually 3, but lately we have seen more clients hanging two pendants that are a larger scale over their kitchen island. If you want 3 fittings then the diameter should be around the length of the bench divided by 10. If you find an oversized fitting you love (400mm diameter or greater) you can throw the rules out and just hang two fittings, just make sure the pendants are not as close to each other as they are wide.
Linear pendants for kitchens are often very slim, don’t worry too much about the width of the fixutre but the length should be about 300mm-600mm shorter than your counter.
For the hanging height over the bench you would normally hang your kitchen bench pendants lower, around 900mm-1000mm is a good rule of thumb, the main thing to look out for is that you are not going to knock the pendant as you are cooking, so this might be higher if you have taller family members.
Can I have a pendant in my bathroom?
Yes, but you can’t put them everywhere. We have a handy article on this topic to explain more, but in the bathroom your pendant cannot hang lower that 2.25m from the floor above the bath. However common sense should prevail, above the bath try and find a pendant that is rated to at least IP44 or UL Damp rated, these fittings will last longer in a damp environment.
Hanging Mini Pendants either side of the mirror is a perfect way to add some style to your bathroom and to light yourself at the vanity, the pendant must be 600mm away from any water source (tap, shower or bath) or it will need to be rated to at least IP44 or UL Damp rated. Just make sure if you have a mirror cabinet the door wont swing into the lights.
Our showroom will be closed from Friday 3rd to Monday 6th of February for Easter Weekend.
We’ll be back open on Tuesday 7th of April as usual. Dismiss